The inspiration for a Stick Chair
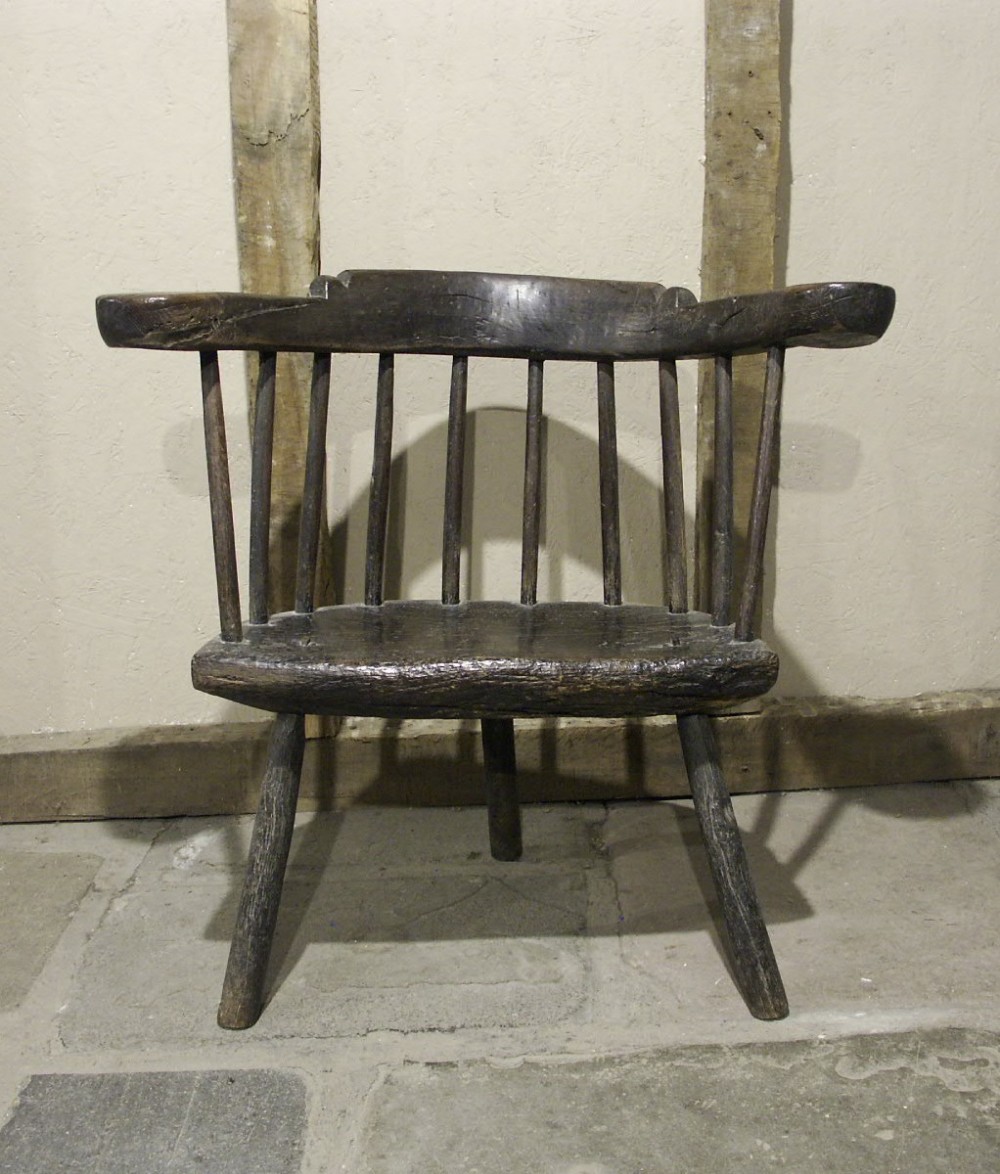
When visiting San Diego last January, there was a chair that spoke to me in a special way. The back legs were splayed outward in a particular, almost determined way, as if the chair wanted to go somewhere. I wanted to take the measurements of it to replicate this inspiration at home.


Though I didn’t have a sliding bevel with me and there was no tape measure in sight, paper and cardboard were available in abundance, as were pencils. I decided to “use what I got” and measure away.
With the help of a piece of cardboard and a pair of scissors I was able to eyeball the angles of the legs and sticks.


I used a piece of card board from a Corona beer box – but I’m sure any other beer brand would have done fine too.
I put the chair upside down and turned the chair around until a leg appeared at 90 degrees toward me. This gave me the sightlines. I put a piece of paper square to the seat and used a straight piece of cardboard where the sightline was, drawing it onto the paper with a pencil.
I decided the shape of the seat and armbow could be figured out from pictures afterwards.
The rake and splay on this chair is interesting. The sightlines of the front and back legs are nearly identical and almost form a perfect ”X” when drawn on the seat. But the angle (splay) of the back legs is much more pronounced than the front ones. All four legs are parallel sideways, whereas on most stick chairs the back legs are closer to each other. This gives the chair on the one hand a balanced look but also makes it look funky and almost a little wrong – exactly what I was looking for.

The build – starting with the undercarriage
Funnily enough, this type of chair is often called a ‘captain’s chair’ in America, which, as written in Welsh Stick Chairs by John Brown, has its origins in Wales. Taking the inspiration from this captain’s chair to build a Welsh Stick Chair makes the circle complete.
Coming home to Munich with the valuable analysis of a comfortable chair in my pocket I was determined to start building right away.

I went to the home center, which only carries a limited amount of wood and nothing fancy but in absence of something better I got a 58mm x 78mm x 3m spruce plank for 6,26€.
I figured if I would mess this up at least I wasn’t out too much money.
I cut it up into seven pieces and glued it up.

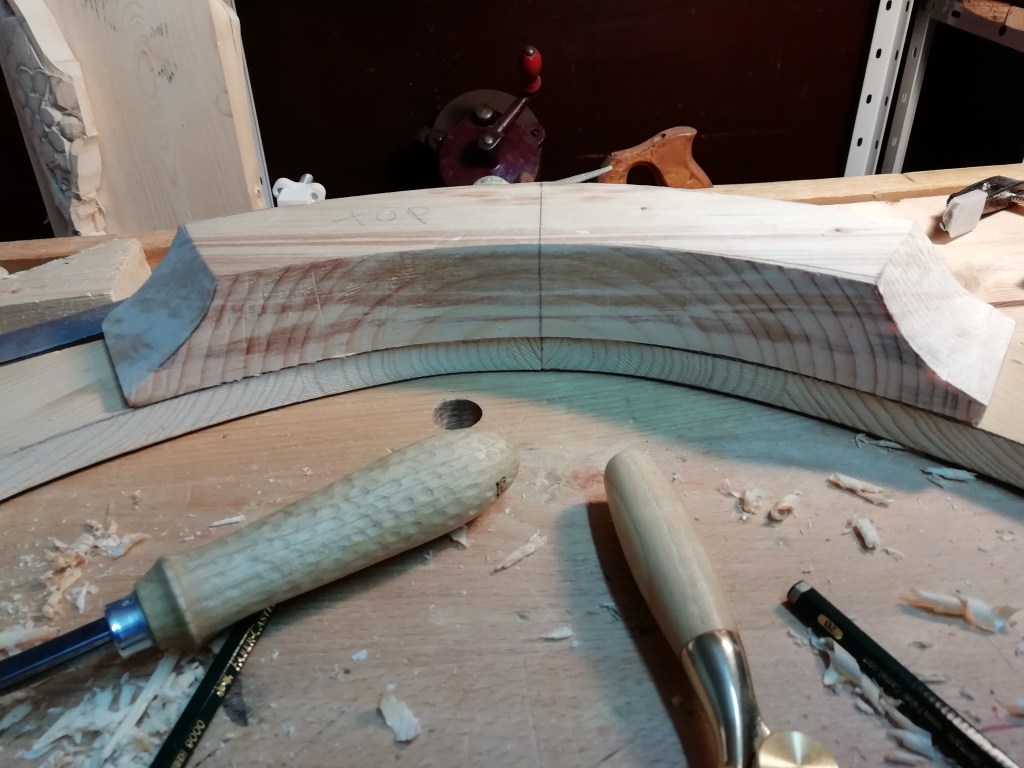
The shape of the seat is a simple D shape. After the seat was glued up I cut the shape of the seat and outlined the spindle deck 2″ from the edge. I clamped the legs at their approximate angles and took a couple of pictures upside down to make sure I was happy with the rake and splay.

When I was happy with what I saw, I took the angle of the legs using my sliding bevel and drilled and reamed the leg mortises.

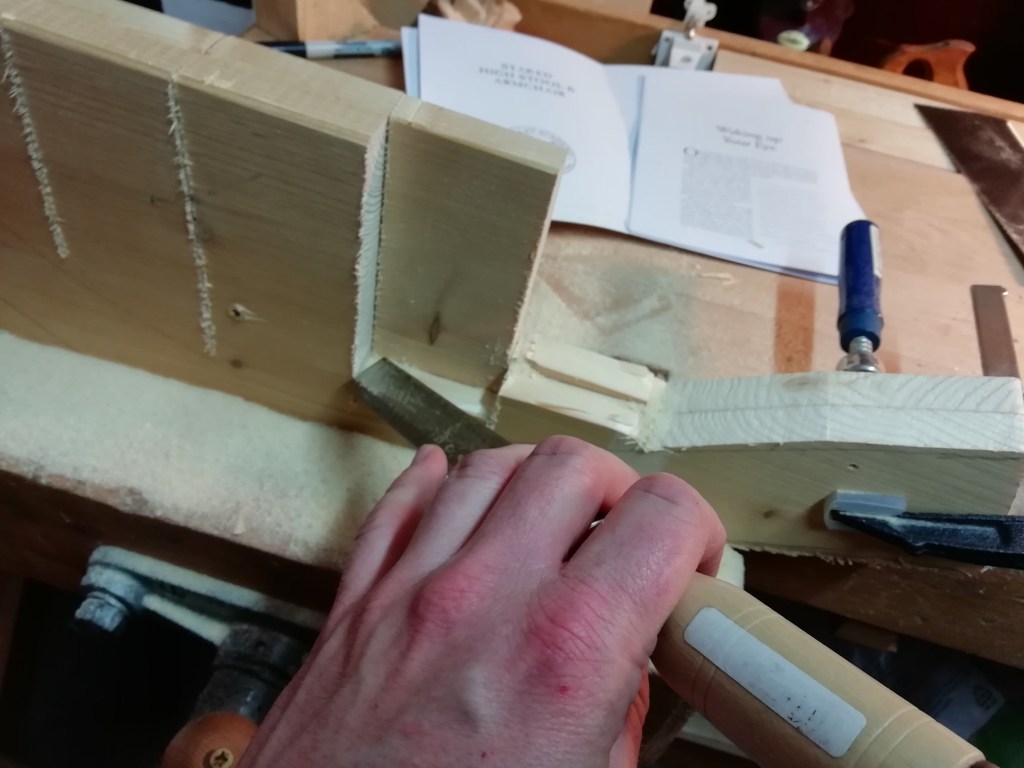
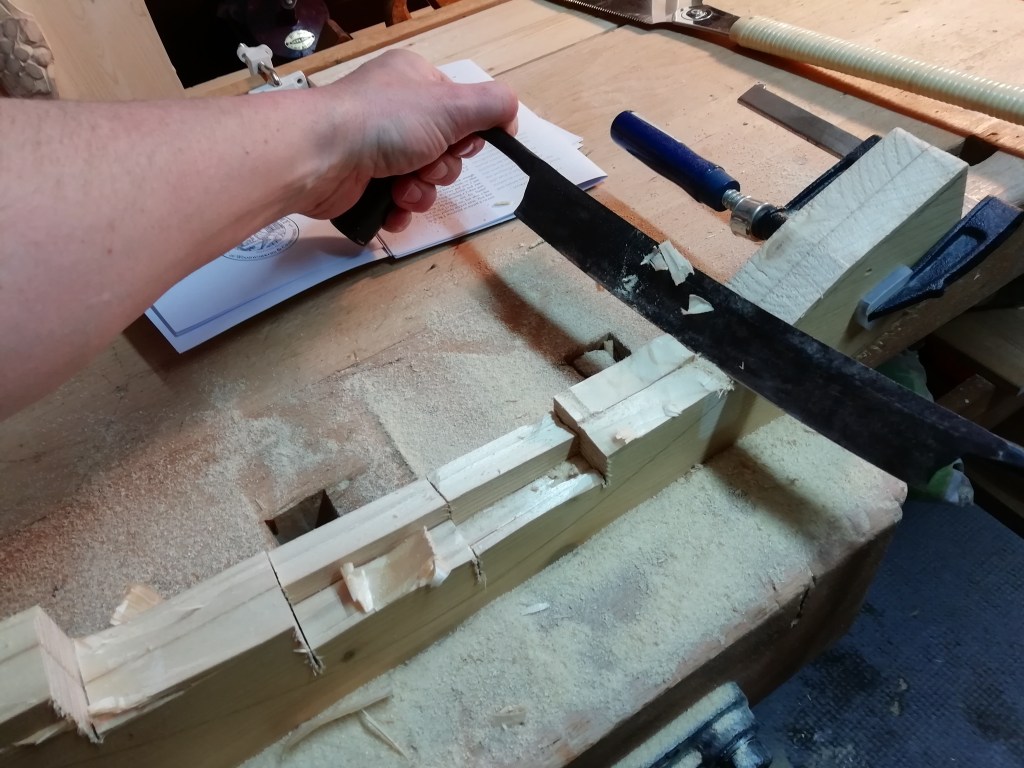
With the leg mortises drilled and reamed, I added a bevel to the bottom of the seat to make for a lighter appearance. For this, I chopped the bulk away with my single bevel hatchet and cleaned it up with my jack plane.


The Legs
I made the legs out of the same material as the seat. The grain was remarkably straight in these pieces of wood. I first tapered the square stock and then planed the legs into octagons. The tenons were made with a draw knife followed by my Veritas tapered tenon cutter.


Saddling the seat
I saddled the seat with several tools, starting with an adze for the rough work, followed by an inshave, pullshave and lastly a curved scraper.


Stretchers for added strength
Since I glued up the seat from 7 pieces, I decided it was a good idea to add stretchers to the undercarriage. I marked the rough location of the stretchers and clamped them to the legs to see if they had to go any higher or lower.


I raised the stretchers a bit more than in the above pictures, to around 7” from the ground and parallel with the seat.
Where to go with all these sticks
With the undercarriage done, now came the process of determining where the sticks would have to go. Finding their rough positions and marking them on the seat, I used dividers to mark their final placements.


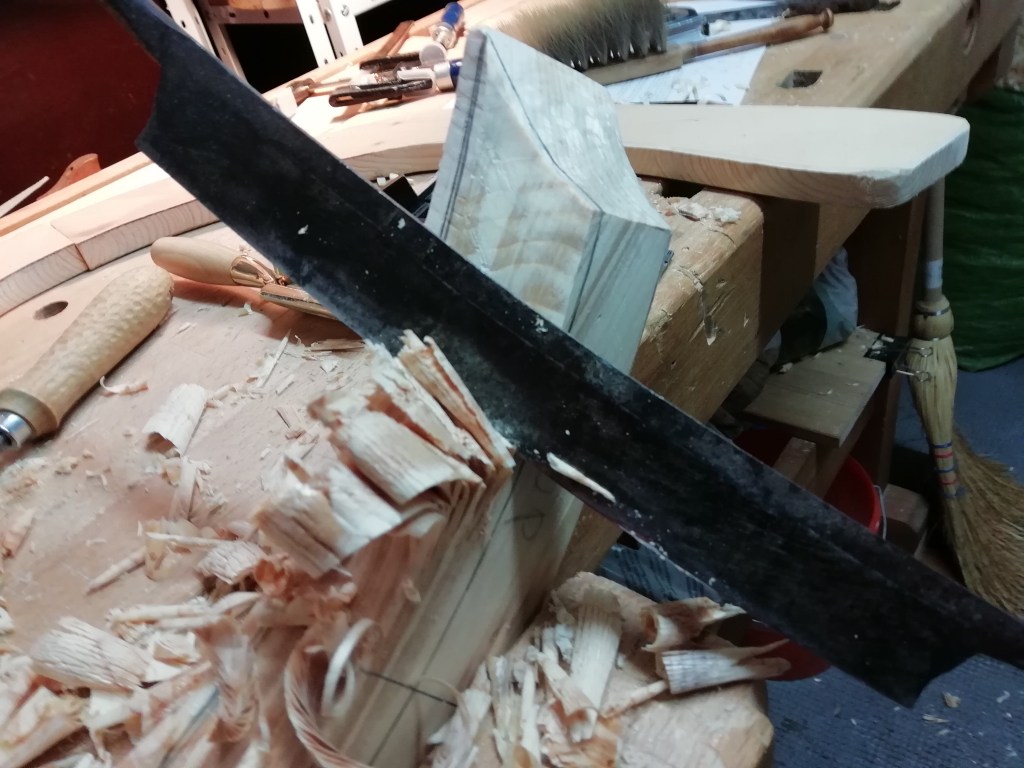
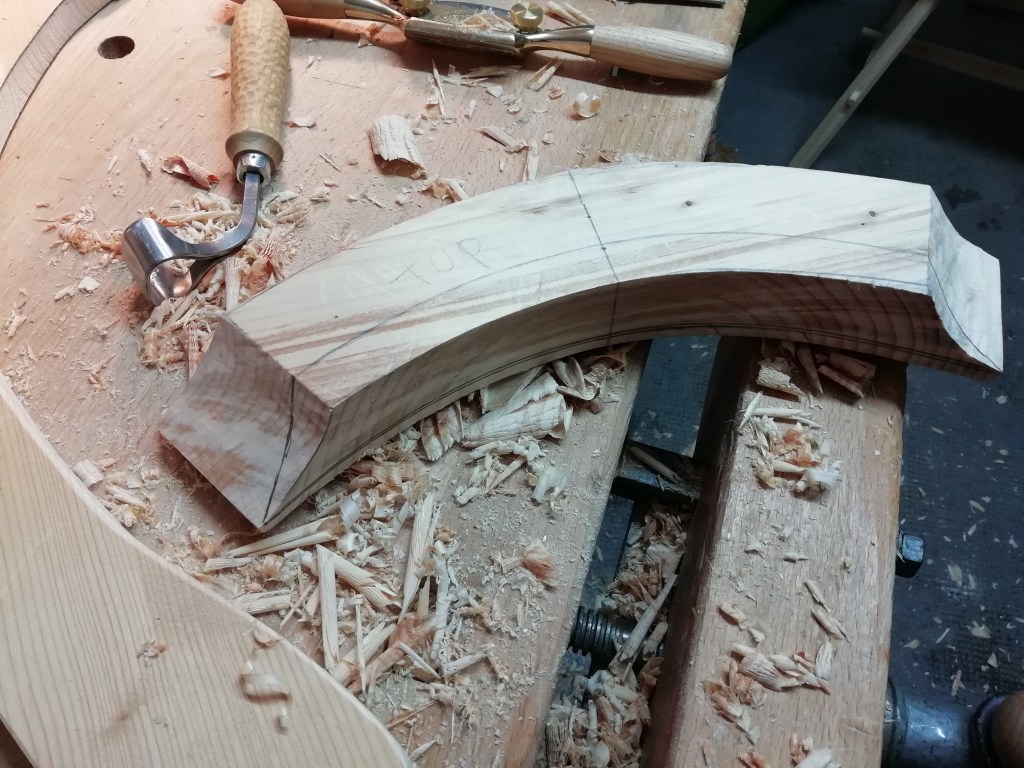
The Armbow
The armbow was the most difficult thing about this chair. I initially wanted to use a natural crook, as historically this was the way it was often done and it seemed a fun challenge.
However it proved to be not as easy as I thought. The two pieces were shaped irregularly and eventually proved to be unsuitable. After wasting valuable time but learning valuable lessons, I used a flat board instead.


Shaping the armbows with a drawknife, rasps and a spokeshave was easy enough and fun. My only worry was that the armbows would be too thin, being 18mm thick (which fortunately proved not to be the case).

The doubler was made from a scrap piece of pine I had lying around.
Now for some funny business
I had decided that I wanted to make the sticks pentagonal. I made a bench with pentagonal legs and wanted to explore pentagons further.
Then I had the brilliant idea (…) to also make the mortises for the long sticks pentagonal.
This proved to be much harder than I assumed.
Nevertheless I am glad I did it, because I got it out of my system to ever do it again.

Since the mortises that go through the armbow and the doubler are drilled at an angle, chopping these mortises pentagonal all the way down and keeping the correct angle proved to be a difficult task. I managed it in the end with no visible gaps but I am looking forward to making a chair with round mortises, and making this part easier.
Next up: making the sticks.
The build of my chair is continued in part two.


Leave a comment