

I learned how to carve Edelweiss flowers during the last lockdown and wanted to share with you how to make one. If you feel bored at home right now, please read on. If not, please read on as well.
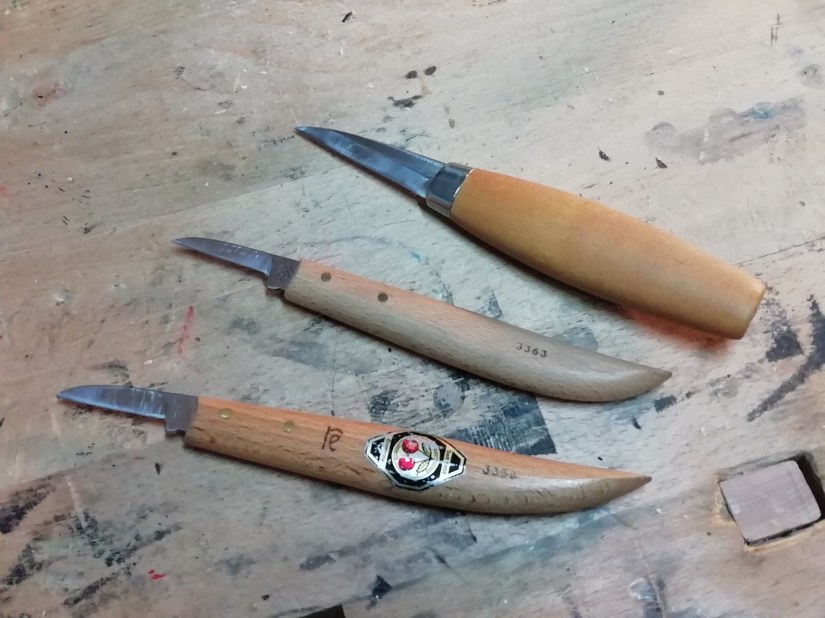
The best thing about this project is that you only need one tool: a knife with a straight blade. If you don’t have one, I can recommend the Mora 122 or the two cherries tools (Kirschen) straight blade knife (Rosenmesser) 3358 or 3363. My preference lies with the two cherries tools knife because the blade is thinner than the Mora 122 knife but all work fine.
Selecting a suitable piece of wood
I recommend using dried wood as opposed to green wood. If you use green wood, you will likely have to re-carve at least part of the flower after it dries. As the billets used for these flowers are so thin, drying them takes little time.
Not all wood types are suitable for carving a flower. You will need a wood type that carves easily and is bendable to a certain extent. I have successfully used birch, linden (basswood/limewood), poplar, hazel and I am sure there are many more.
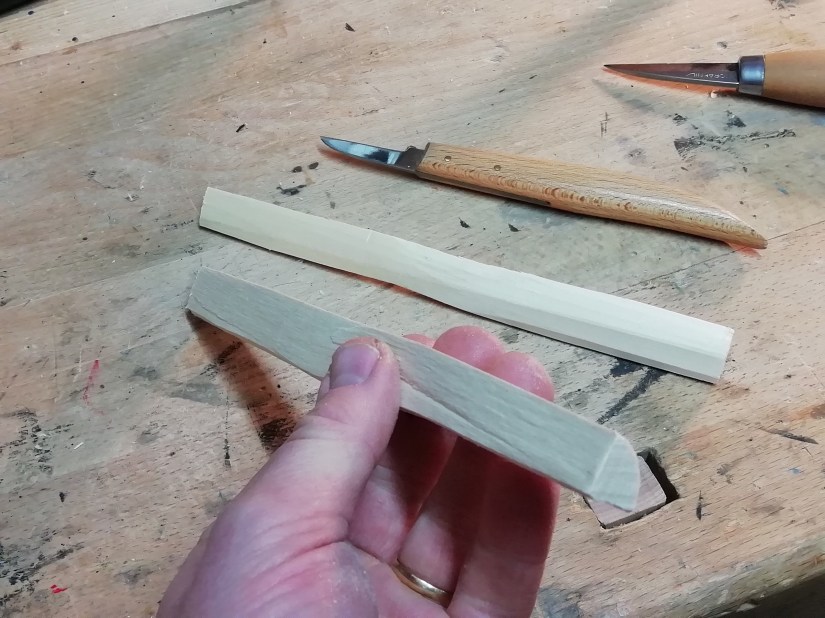
You will need a blank of approximately 3/8”/1cm in diameter. There are no precise dimension requirements. A stick from the garden will work too.
Make the stick round
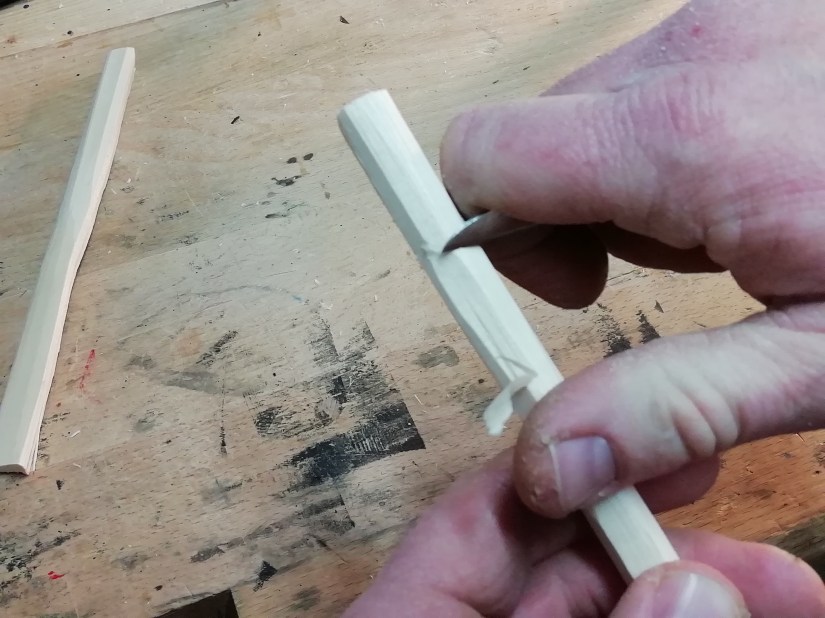
The first step in making the flower is to make the billet round, don’t worry about making it perfectly round.
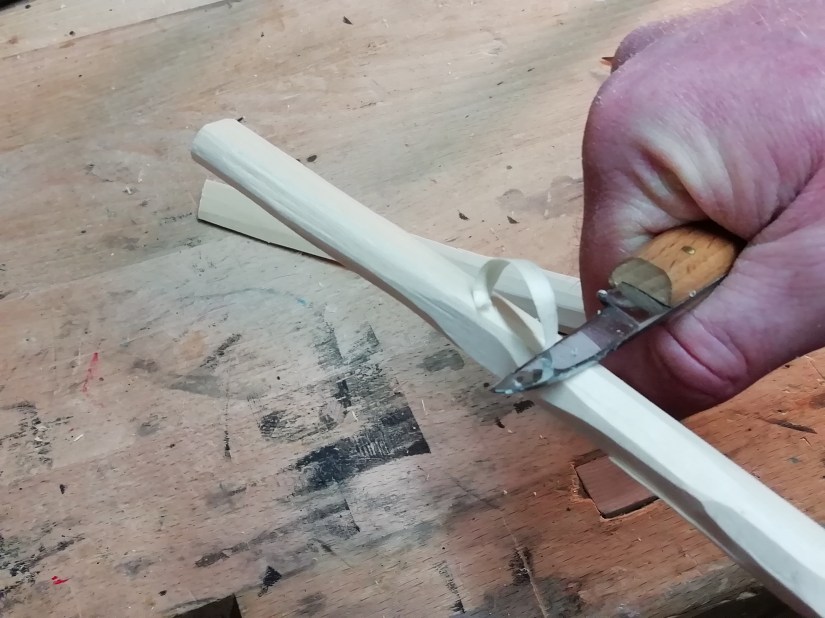
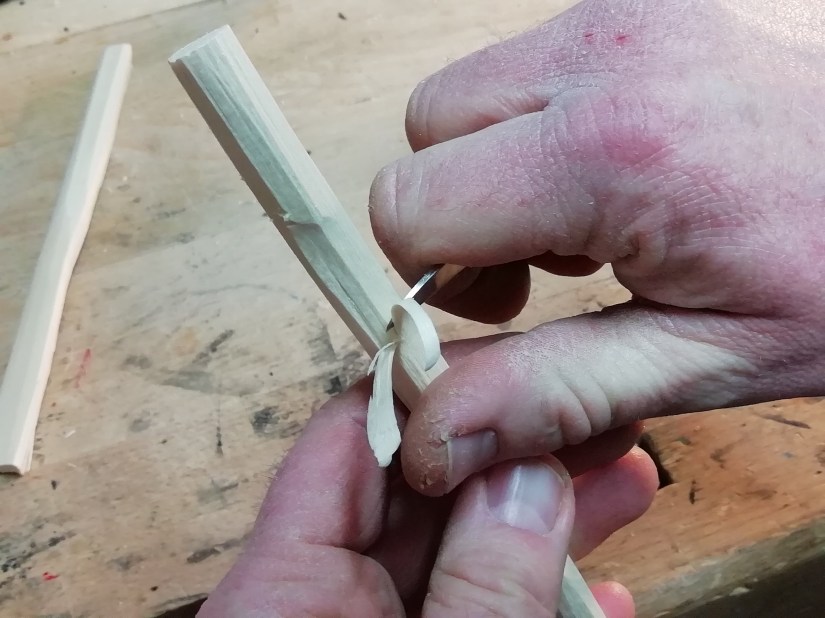
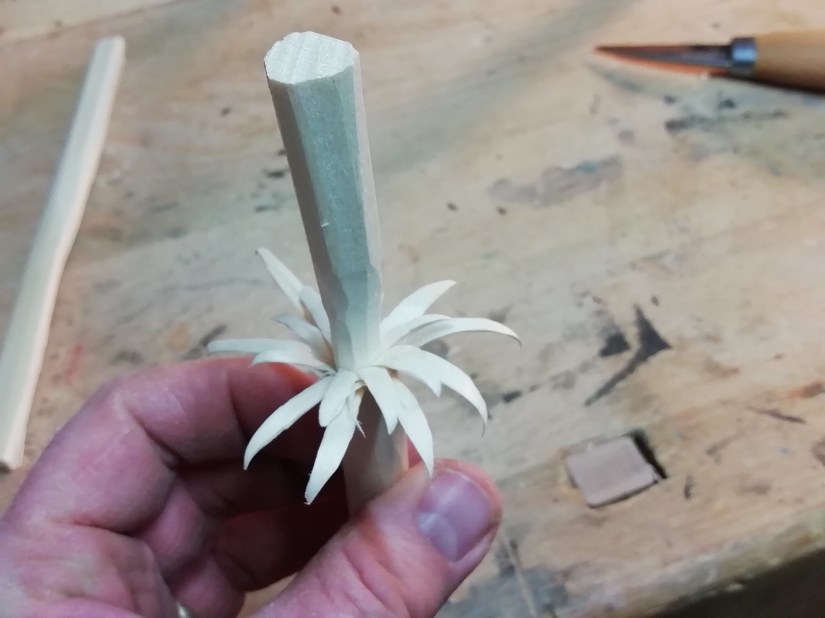
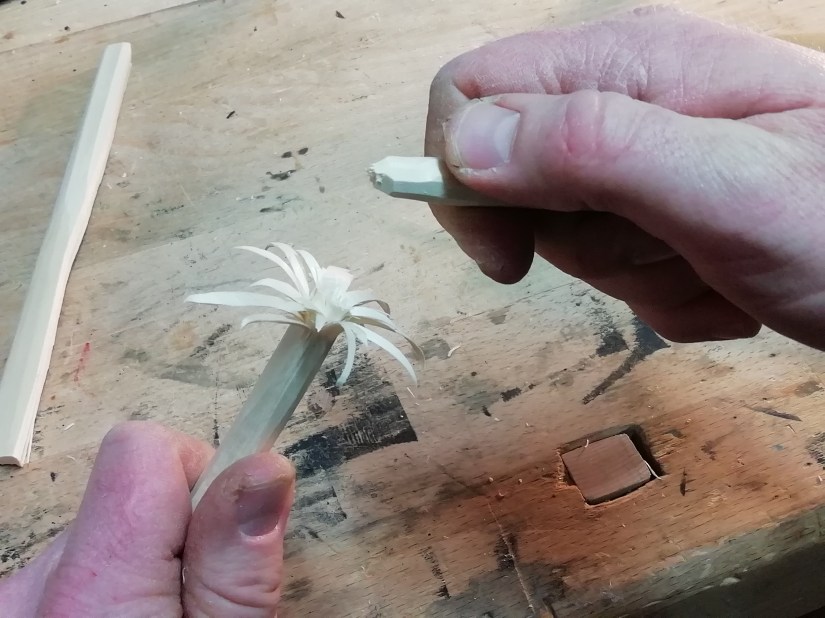
Once the billet is round-ish you can start working on the petals. Start the first cut about 1″/2.5 cm from the end. Cut about 1″/2,5 cm down and bend it back.
The next cut is started right next to the first and the process is continued all around the stick until you reach the place where you started.
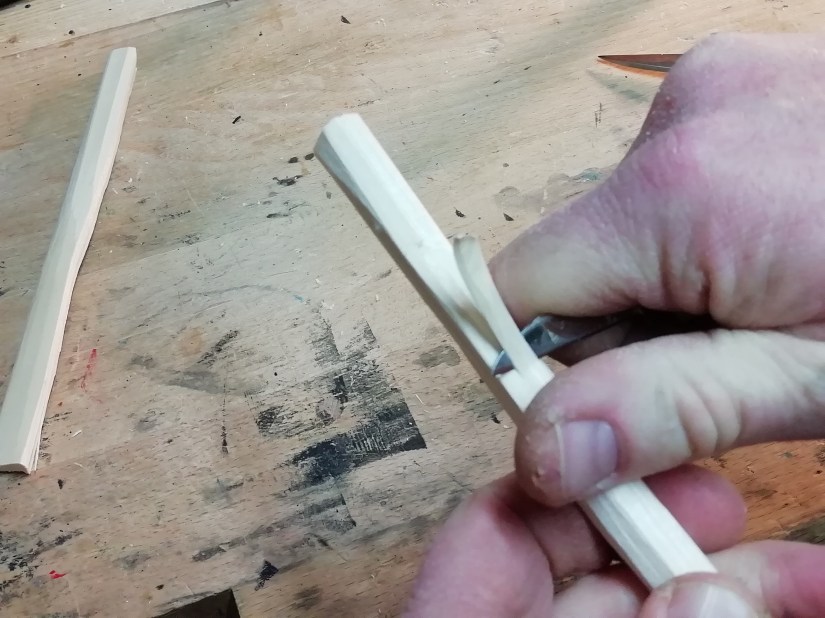
The inner petals are cut right between the outer leafs and are about half the length of the outer ones.
inner petal 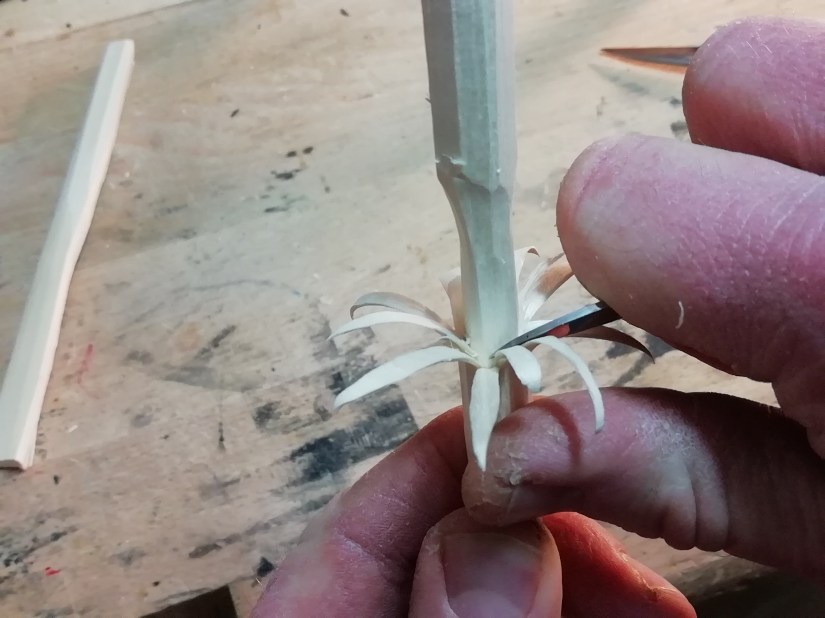
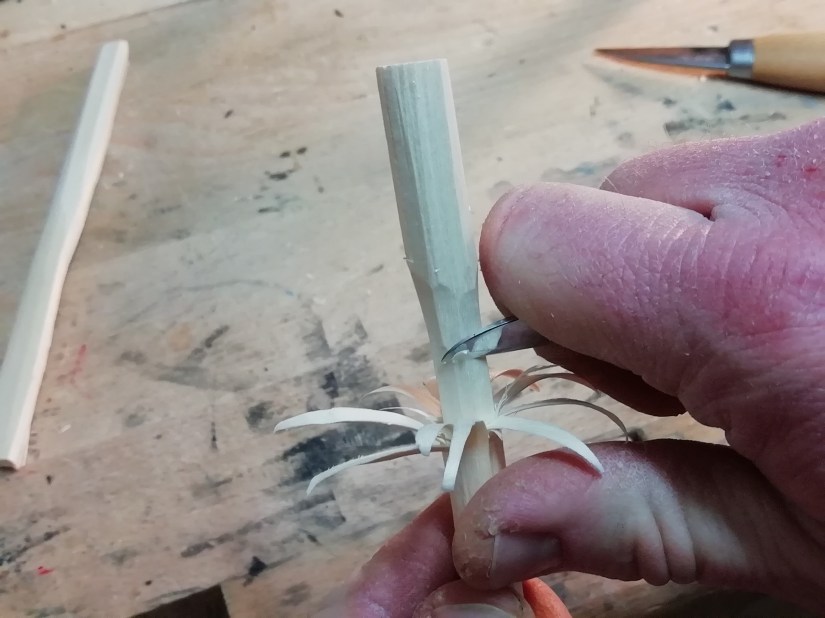
Carve all the way around the billet until you reach the other side again, bending back each petal as you progress.
Shaping the petals
The petals look nice when they have a pointy tip. Shape each outer and inner petal until you are happy with how they look.
Carving the blossom
Make small deep cuts above the petals you just made. They should be only 3/16″/0,5 cm deep and at a steeper angle. Make sure to hold the carving under the petals and not right next to where you cut, as it is very easy to end up with your knife in your finger (ask me how I know this).
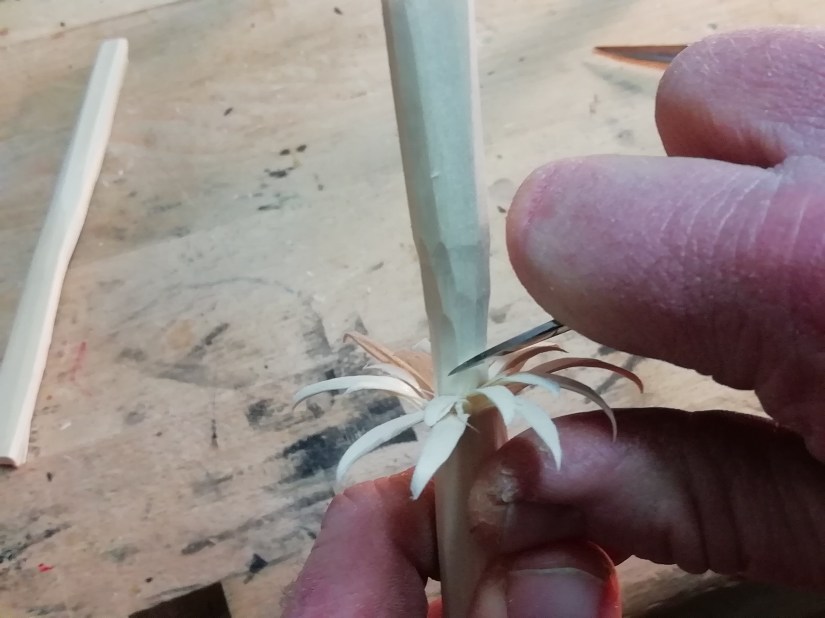
deep stabbing cuts 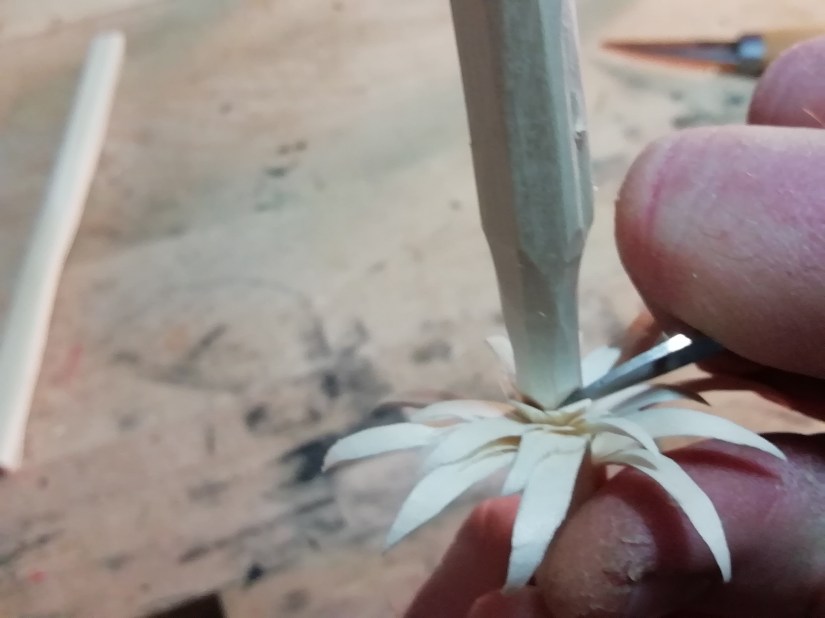
watch your fingers with this step
Go all around the billet until you reach the other side again. Now grab the top part of your carving and break it off. If it doesn’t break off, carve some more stopping cuts like the ones above and try again.
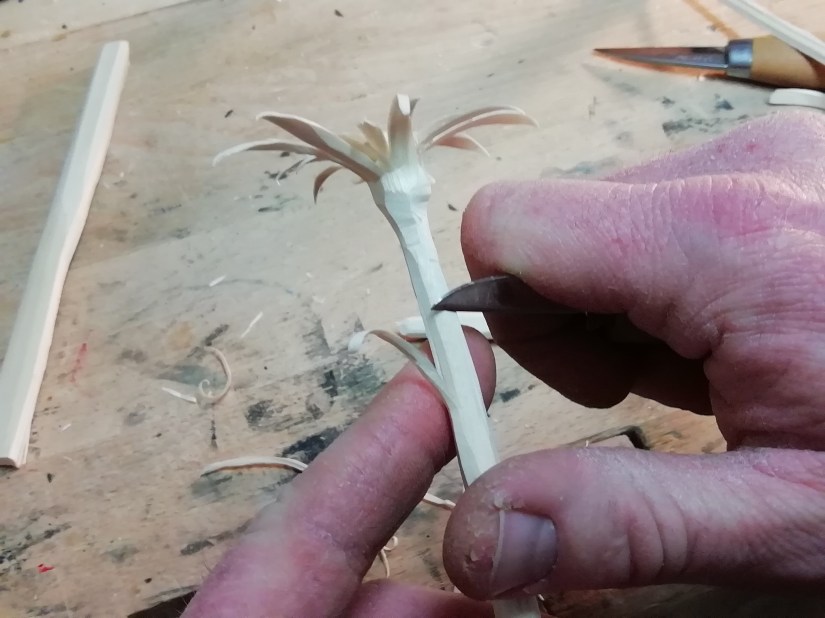
Work on the stem
You can make the stem as thin or thick as you want. In my opinion a thinner stem looks better.
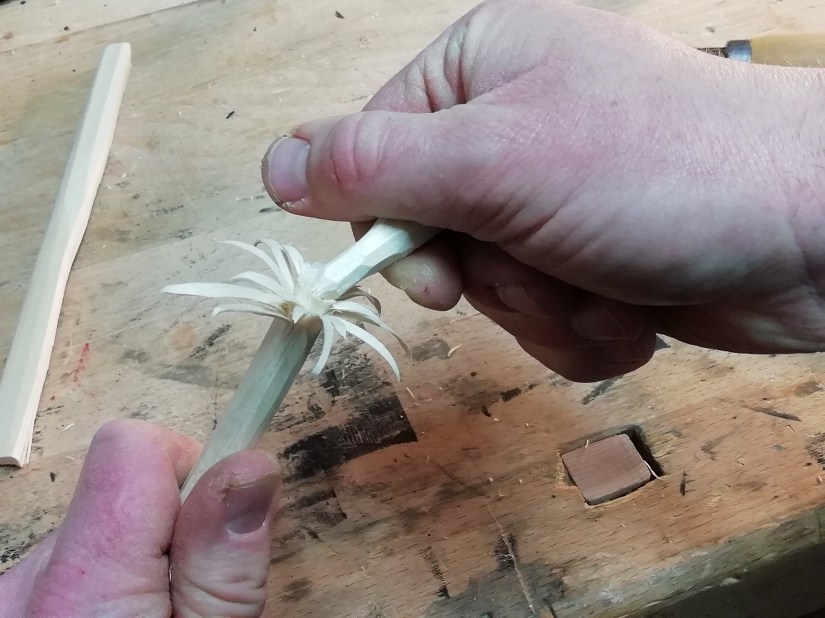
Start by making a deep cut about 3/16″/0.5cm under the flower and split the wood below it.
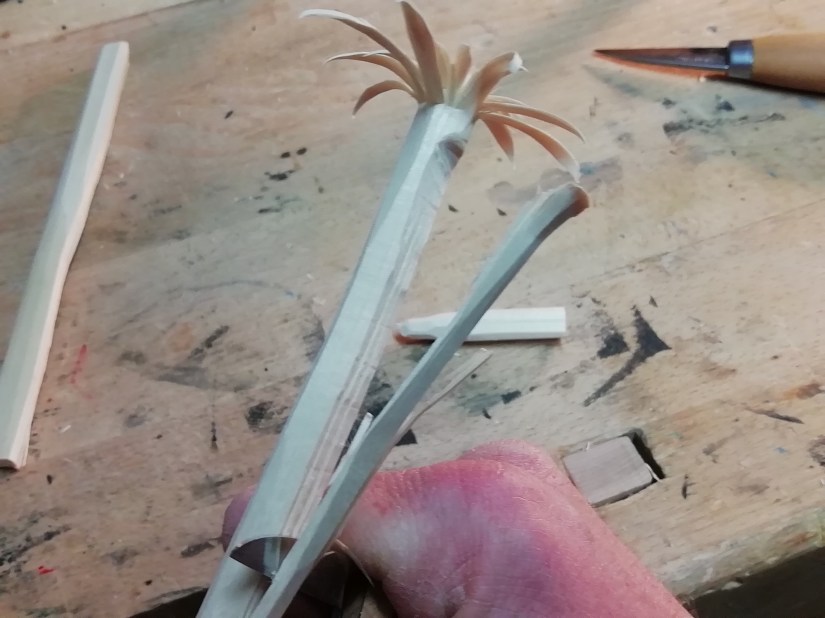
Splitting the wood is the fastest way to remove material but you can carve it away if you prefer this. Keep splitting the wood around the stem until you reach your desired thickness.
Make the leaves
The last step is making the leafs on the stem. The are made in a similar way to the leafs of the flower. Start the cut just below the flower, making sure not to go too deeply if you have a thin stem.
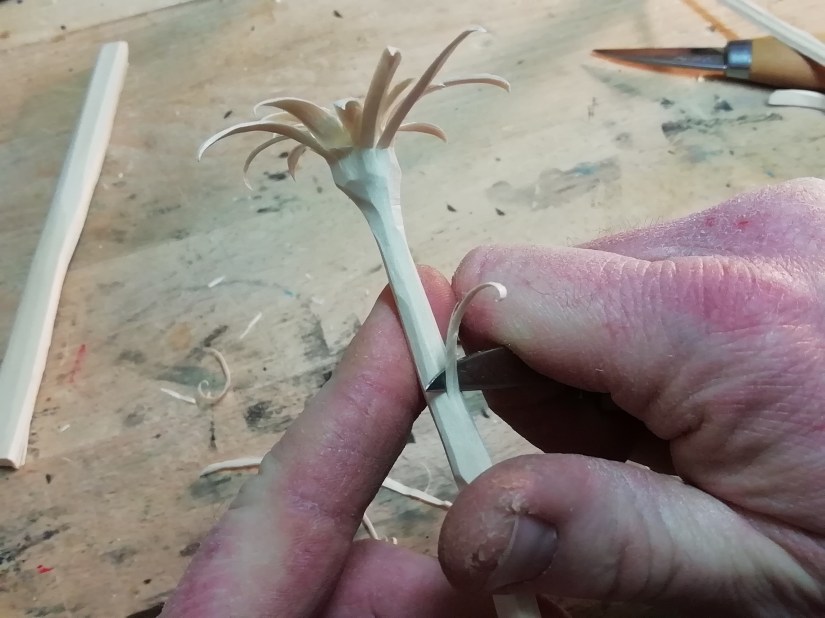
Start the next leaf next to the first one but halfway above it, and carve until halfway below it.
start of the second cut 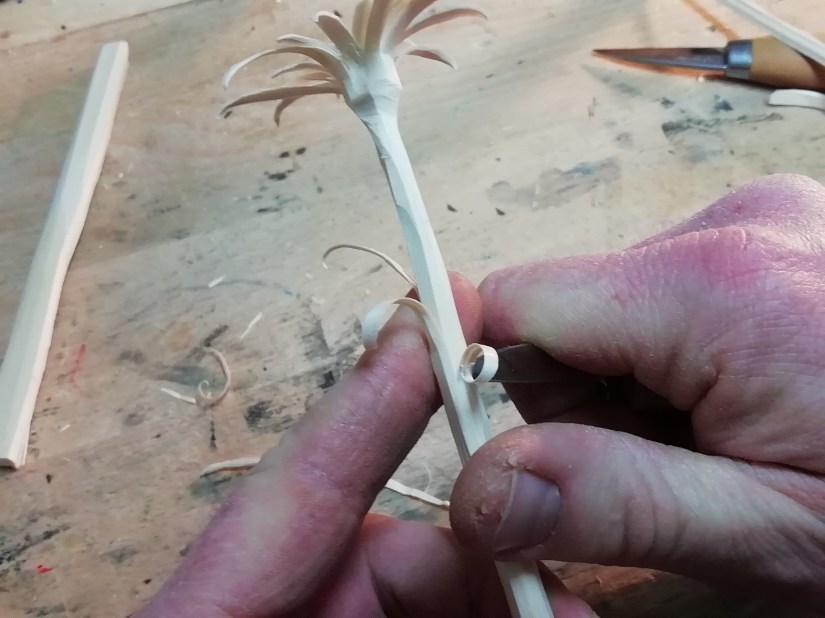
Keep carving around the stem until you feel there are enough for your taste. I feel less is more but if you are having fun you can carve leafs around the whole stem.
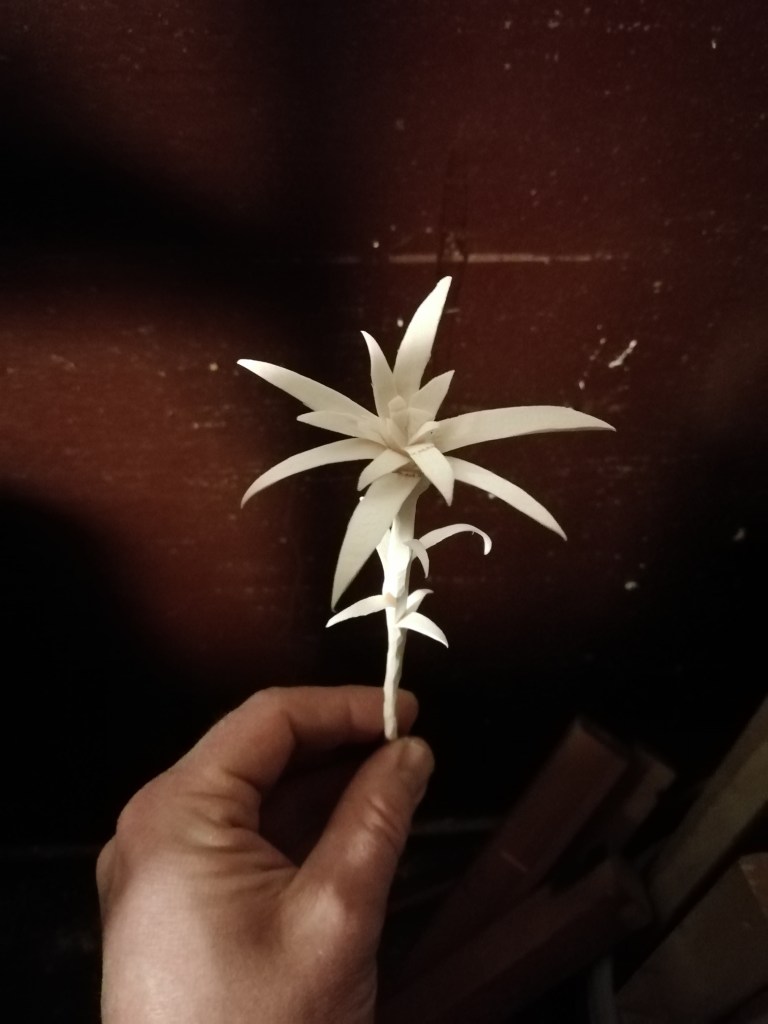
I usually leave my Edelweiss flowers with no finish, though it could be a fun project to paint them when there are children around.
Have fun carving!
-Rudy Everts


Leave a comment